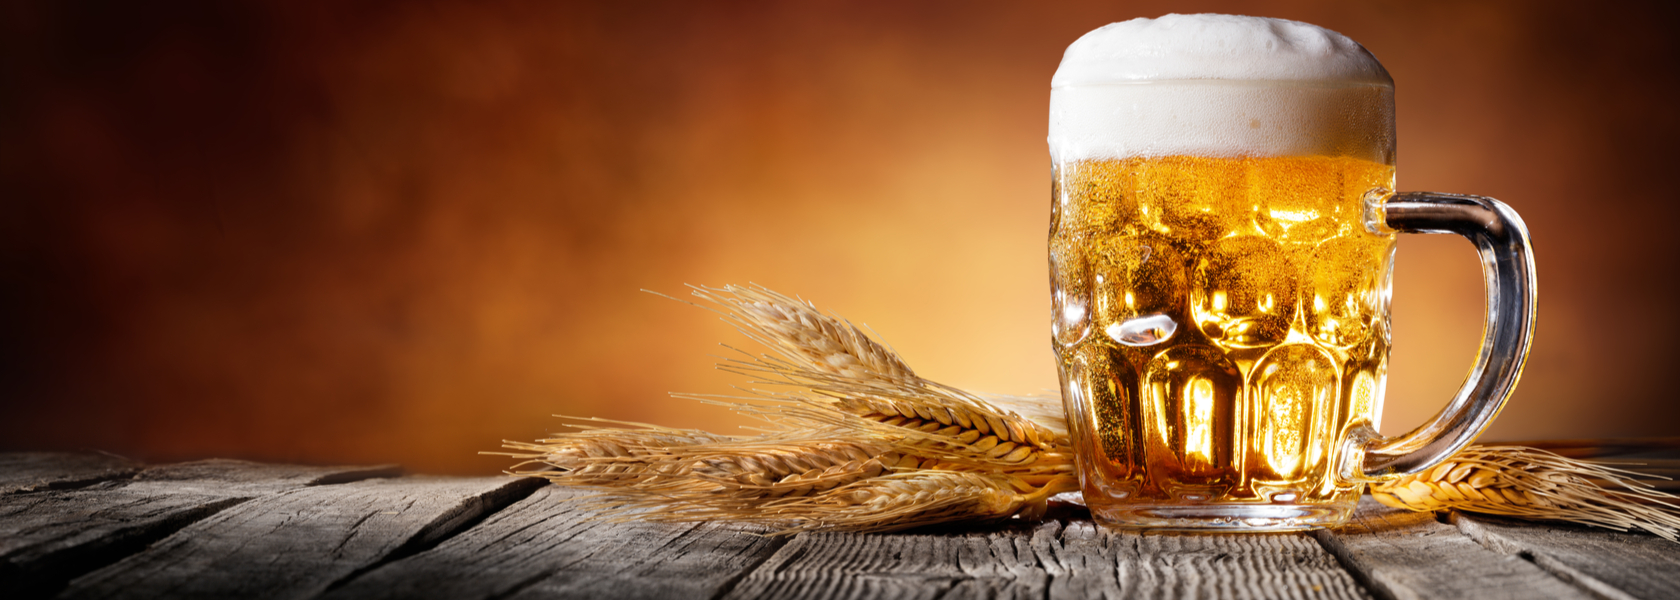
It is now easy to brew beer directly from your home. You can easily make beer if you’re capable of making cheese and mac without seeking any help. Below are the four primary steps you need to follow and make beer from without seeking any help:

Stage One: Preparation
In this stage, you need to collect the brewing equipment. These include a stirring spoon, brewing kettle, beer recipe kit, fermenter plus airlock, auto-siphon, sanitizer, and funnel.
Sanitizing is the next step. You can successfully make beer if your equipment is clean. Also, you need to disinfect all the apparatus that will come into contact with the beer after it has boiled. The most preferred cleaners and sanitizers, in this case, include Star San and PBW.
Stage Two: Brewing
First, fill the five-gallon kettle with 2 1/2 gallons of water. Steep the grains for around twenty minutes as you keep heating water. Heat water until it reaches a boiling temperature of 170 degrees Celcius. When removing the grains, allow the water to drop out directly into the brew kettle. Avoid squeezing the grain bag since this will extract tannins, something that will end up making the beer to have unwanted flavors.
Remove the kettle when it reaches the rolling boil and then add the malt extracts. Return the brew kettle to a boil after the extract dissolves completely. Now, add hops, but at different intervals. Also, avoid boiling over after adding hops. After, the final content is called sugar water or wort.
Now, you need to cool the sugar water. Here, you can use an ice bath or wort chiller. In the case of the ice bath, you need to place the pot in the sink that is full of ice water. For wort chiller, you need to insert a chiller in the wort and then run cold water out to the tub and through the chiller. The two methods will give the best results, but the wort chiller is the most preferred.
Stage Three: Fermentation
Take note to sanitize the equipment. After this, transfer the cooled wort (sugar water) into the fermenter. Some brew kettles feature a valve, making it easy to transfer the wort from the brew kettle to the fermenter.
Next, you need to add water and ensure the level stands at five gallons. After this, splashing the wort around while in its container to aerate it. You need to do this, since yeast requires oxygen and splashing the wort helps a lot in this step.
Now, add yeast to the content. In this case, consider dry yeast since there is no need to make it beforehand. Remember to sanitize the yeast plus the scissors and then cut off the corner featured on the yeast pack. After this, add the yeast to the fermenter.
Sealing the fermenter, adding fermentation airlock, and storing the content in the dark, cool place is the next step. The temperature needs to be 68 degrees celsius so that the content can ferment properly.
Step Four: Bottling
The content takes around two weeks to ferment. After this, it will be ready to bottle it. However, ensure that you clean everything using a bottle brush. These include the bottling bucket, bottles, bottle caps, and bottler filler.
Boiling the priming sugar in 16 ounces of water is the next step. Wait for it to cool and then add the content to a bottling bucket. Now, you’re ready to transfer the beer. This step entails siphoning the beer out of the ferment and then siphon it into the bottling bucket. Ensure that you have left much of the sediment in the fermenter.
Move into filling the bottles. Here, there is a unique procedure to follow. The bottle filler needs to be attached to the hose and then the hose connected to the bottling bucket spigot. After this, open the bucket spigot and push the filer to the bottle’s lower side.
Also, ensure each bottle is filled to the top. After removing the bottler filler, the right amount of space will be left at the top of that bottle.
Now cap the bottles by using a bottle capper and caps. After you’re done, keep the beer bottles in a place with room temperature for around two weeks. Do this so that the beer can get enough time for carbonation.
And that is all! The final step is to refrigerate your beer and then enjoy it! Hesitate no more! Follow all these steps and make your beer without seeking any help.
References
Northern Brewer, “How To Make Beer,” accessed April 6, 2020, https://www.northernbrewer.com/blogs/new-to-brewing-start-here/how-to-brew-beer-homebrewing-101
- Martell, “HOW TO BREW YOUR OWN BEER IN 8 EASY STEPS,” accessed April 6, 2020, https://foodal.com/drinks-2/beer/brewing/in-8-easy-steps/
Future Learn, “The stages of brewing beer,” accessed April 6, 2020, https://www.futurelearn.com/courses/everyday-chemistry/0/steps/22326
- Flowers, “How to Brew Beer: The Ultimate Step-by-Step Guide,” accessed April 6, 2020, https://learn.kegerator.com/how-to-brew-beer/


